Quick info
- A straight and proud line on the right and side of the Paredon wall that goes right to the top.
- Never really easy and with some distinct crux pitches. Less sustained than La Comon but harder than Socuellamos.
- Long mildly technical scrambling descend or steeper scramble and walk off descend.
- Partly equipped route. Mix of new and old bolts that need to be amended with mobile protection. No bolts on the final pitches. Some of the belays need to be reinforced with Cams.
- 8 pitches / 285 meters.
- 6a or 6b+ / 5b / 5c / 6a / 5b / 5c / 5a / 5b
General
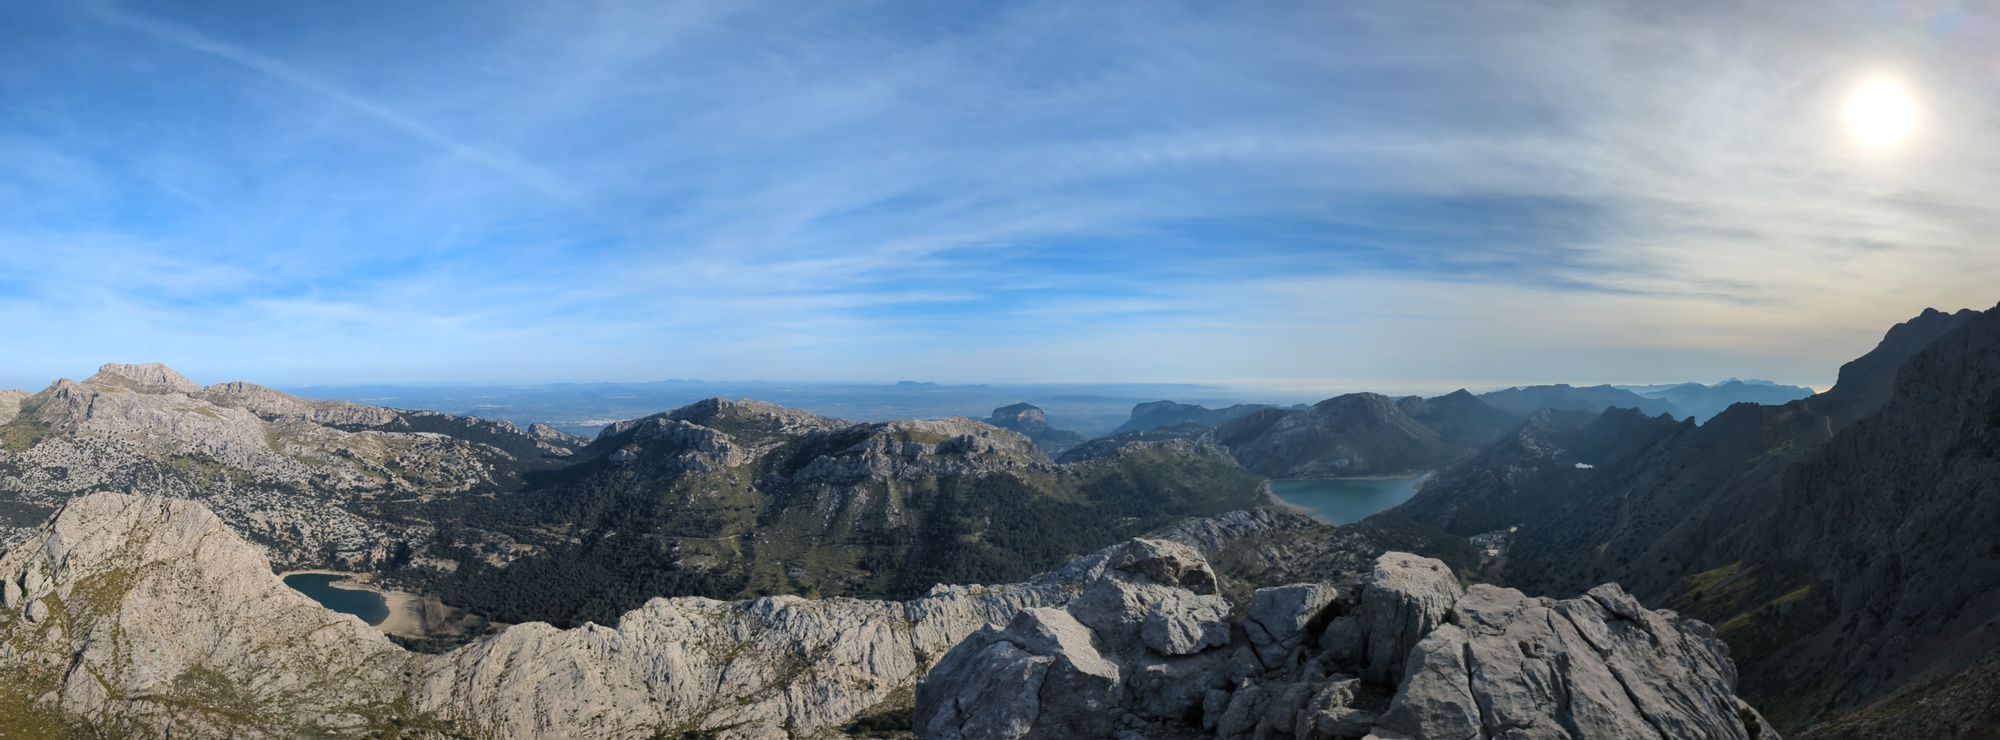
See the article on the Via La Comon for a general description of the area.
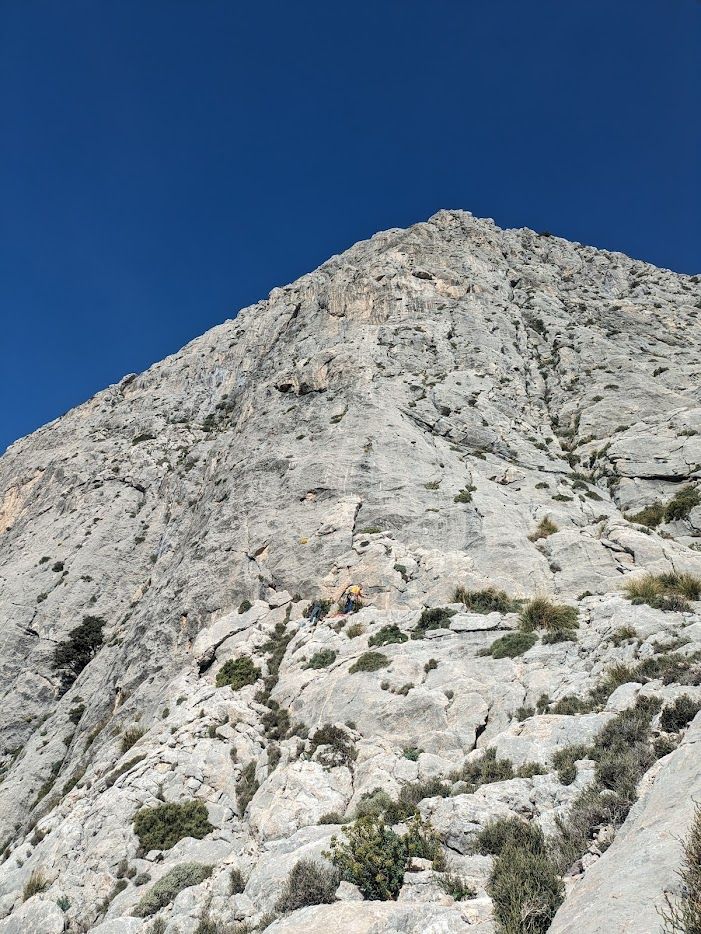
The Directa des Pilar takes a straight line up the main pillar on the right hand side of the wall and finds a fairly moderate way through the steep yellow middle mid height part of the wall.
Logistics
Same as for Agulla de Frare which is right next to the Paredon wall.
Approach and descent
Same as for Via La Comon.
Technical information
- Eight pitches (up to 45 meters) with 285 meters of climbing
- Full belays are far and few between on this route. However with new bolts have been put in quite recently and it is possible to build belays at many points by backing up a bolt with a cam or two. The separation in 8 pitches listed below is just one example of how to organize the belays.
- Gear: Double ropes (min 60 meters) or single rope. A set of small and medium cams to the protection (Camelot 0.25 to 3 with possible doubles of number 1 and 2).
- Rappelling the route without doubles of at least 60 meters is impossible with only the full belays.
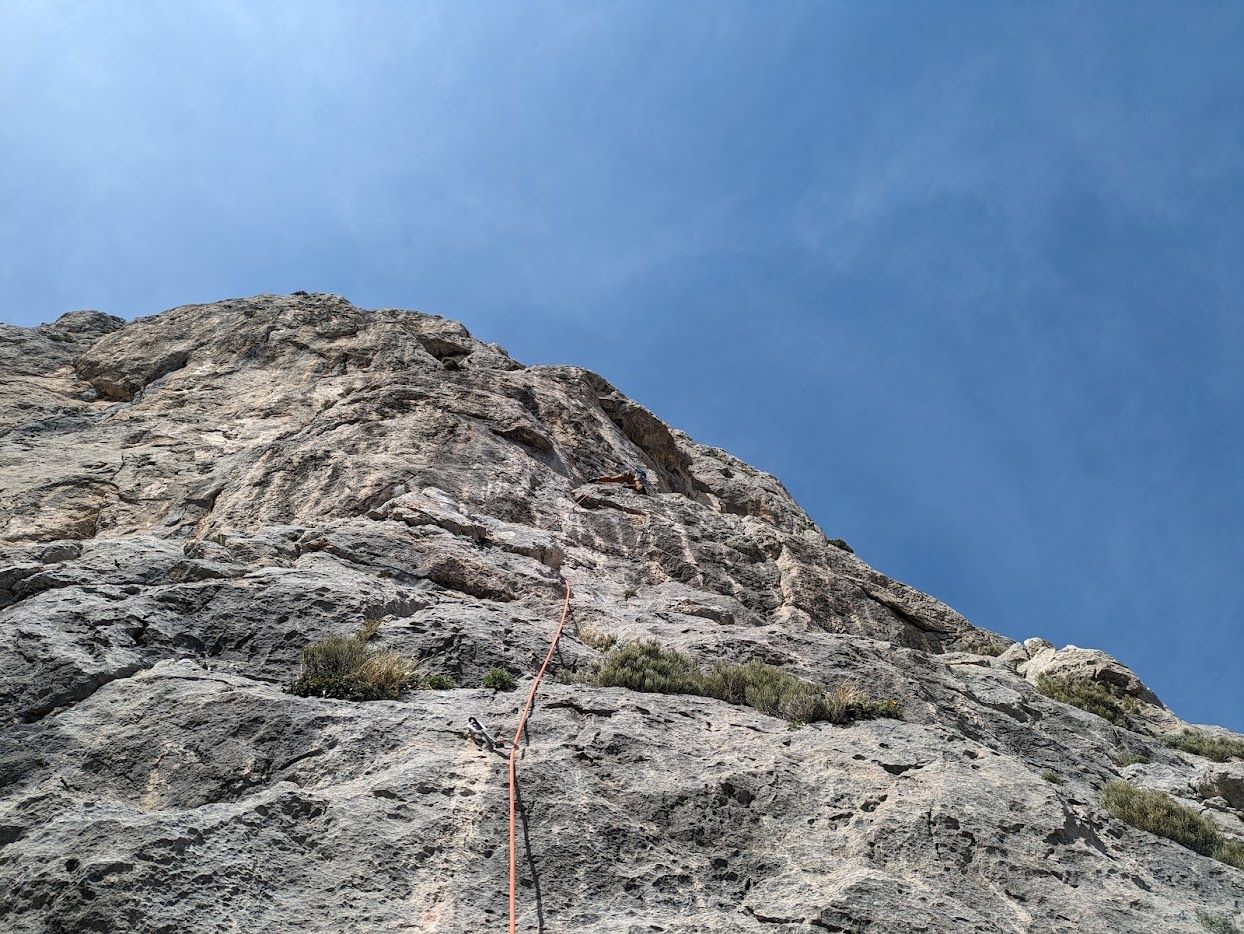
- The rock quality is mostly very good (especially on the steeper pitches). Beware of loose rocks on ledges and at belays.
- With a south-east aspect the wall is sunny the whole day.
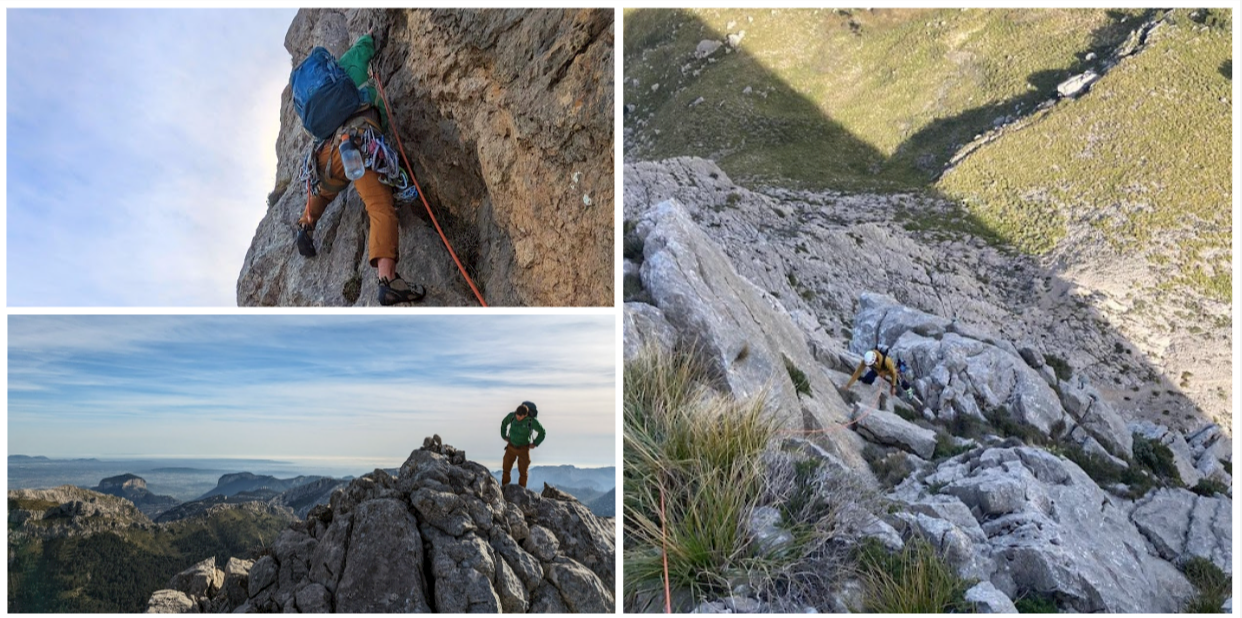
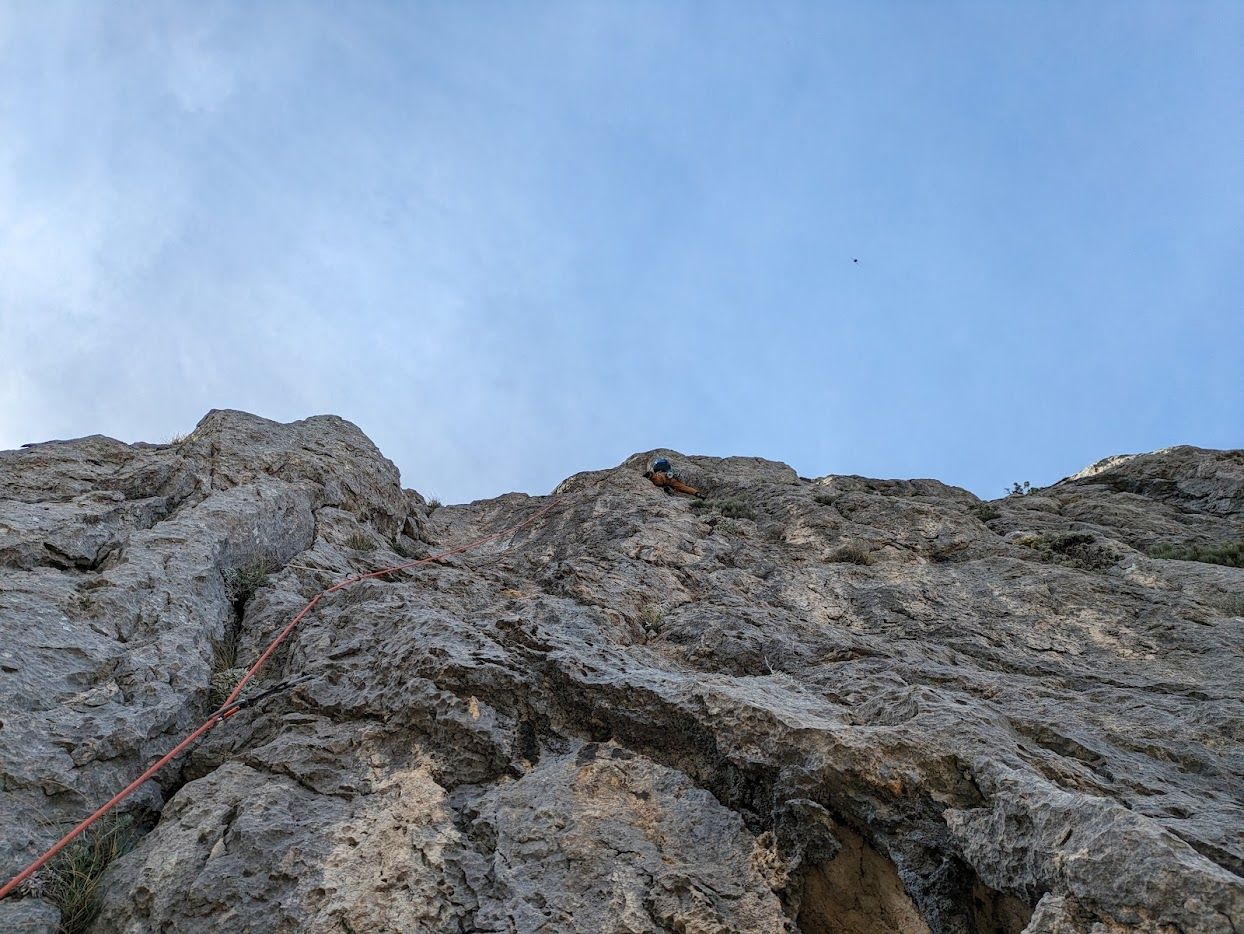
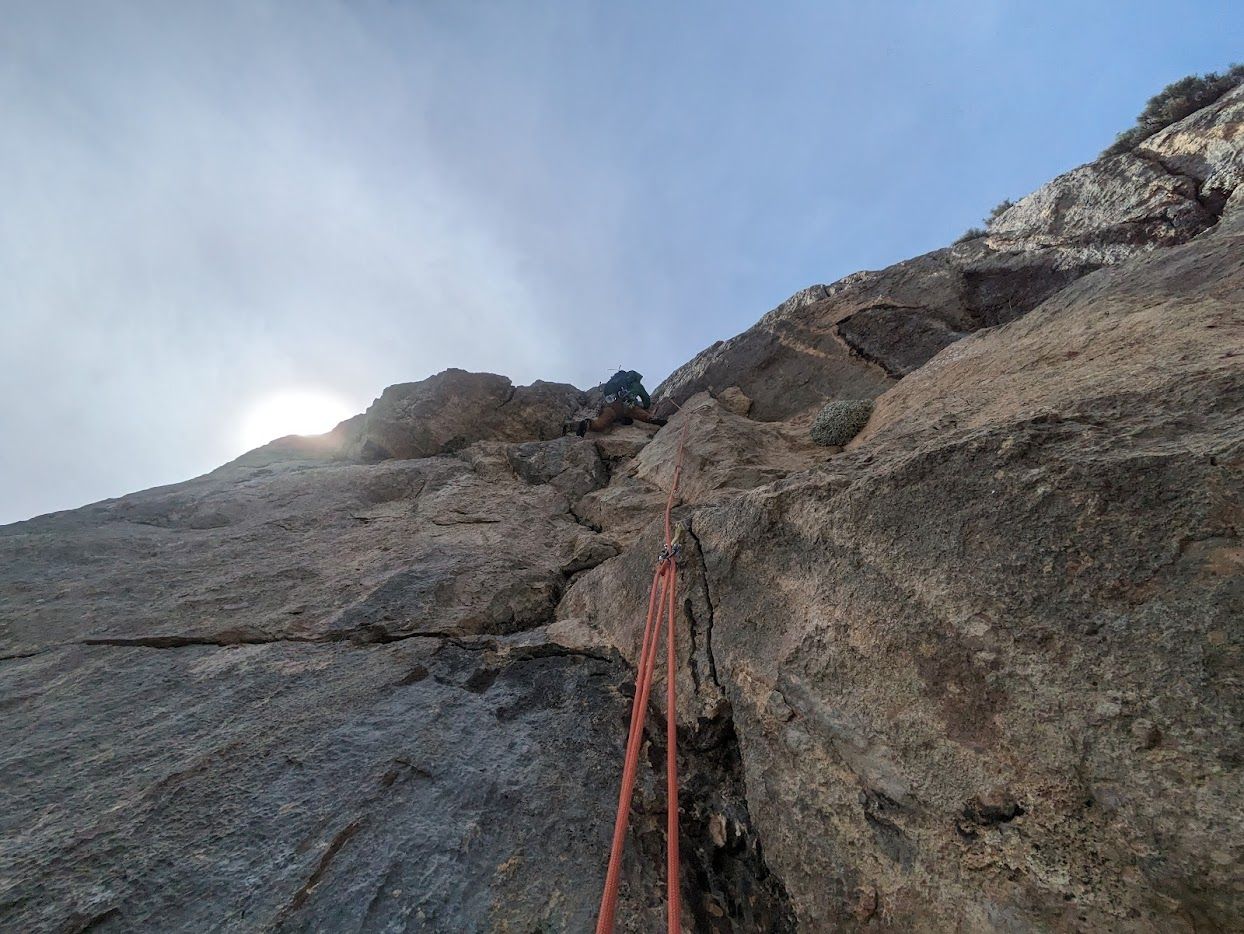
Climbing and pitches
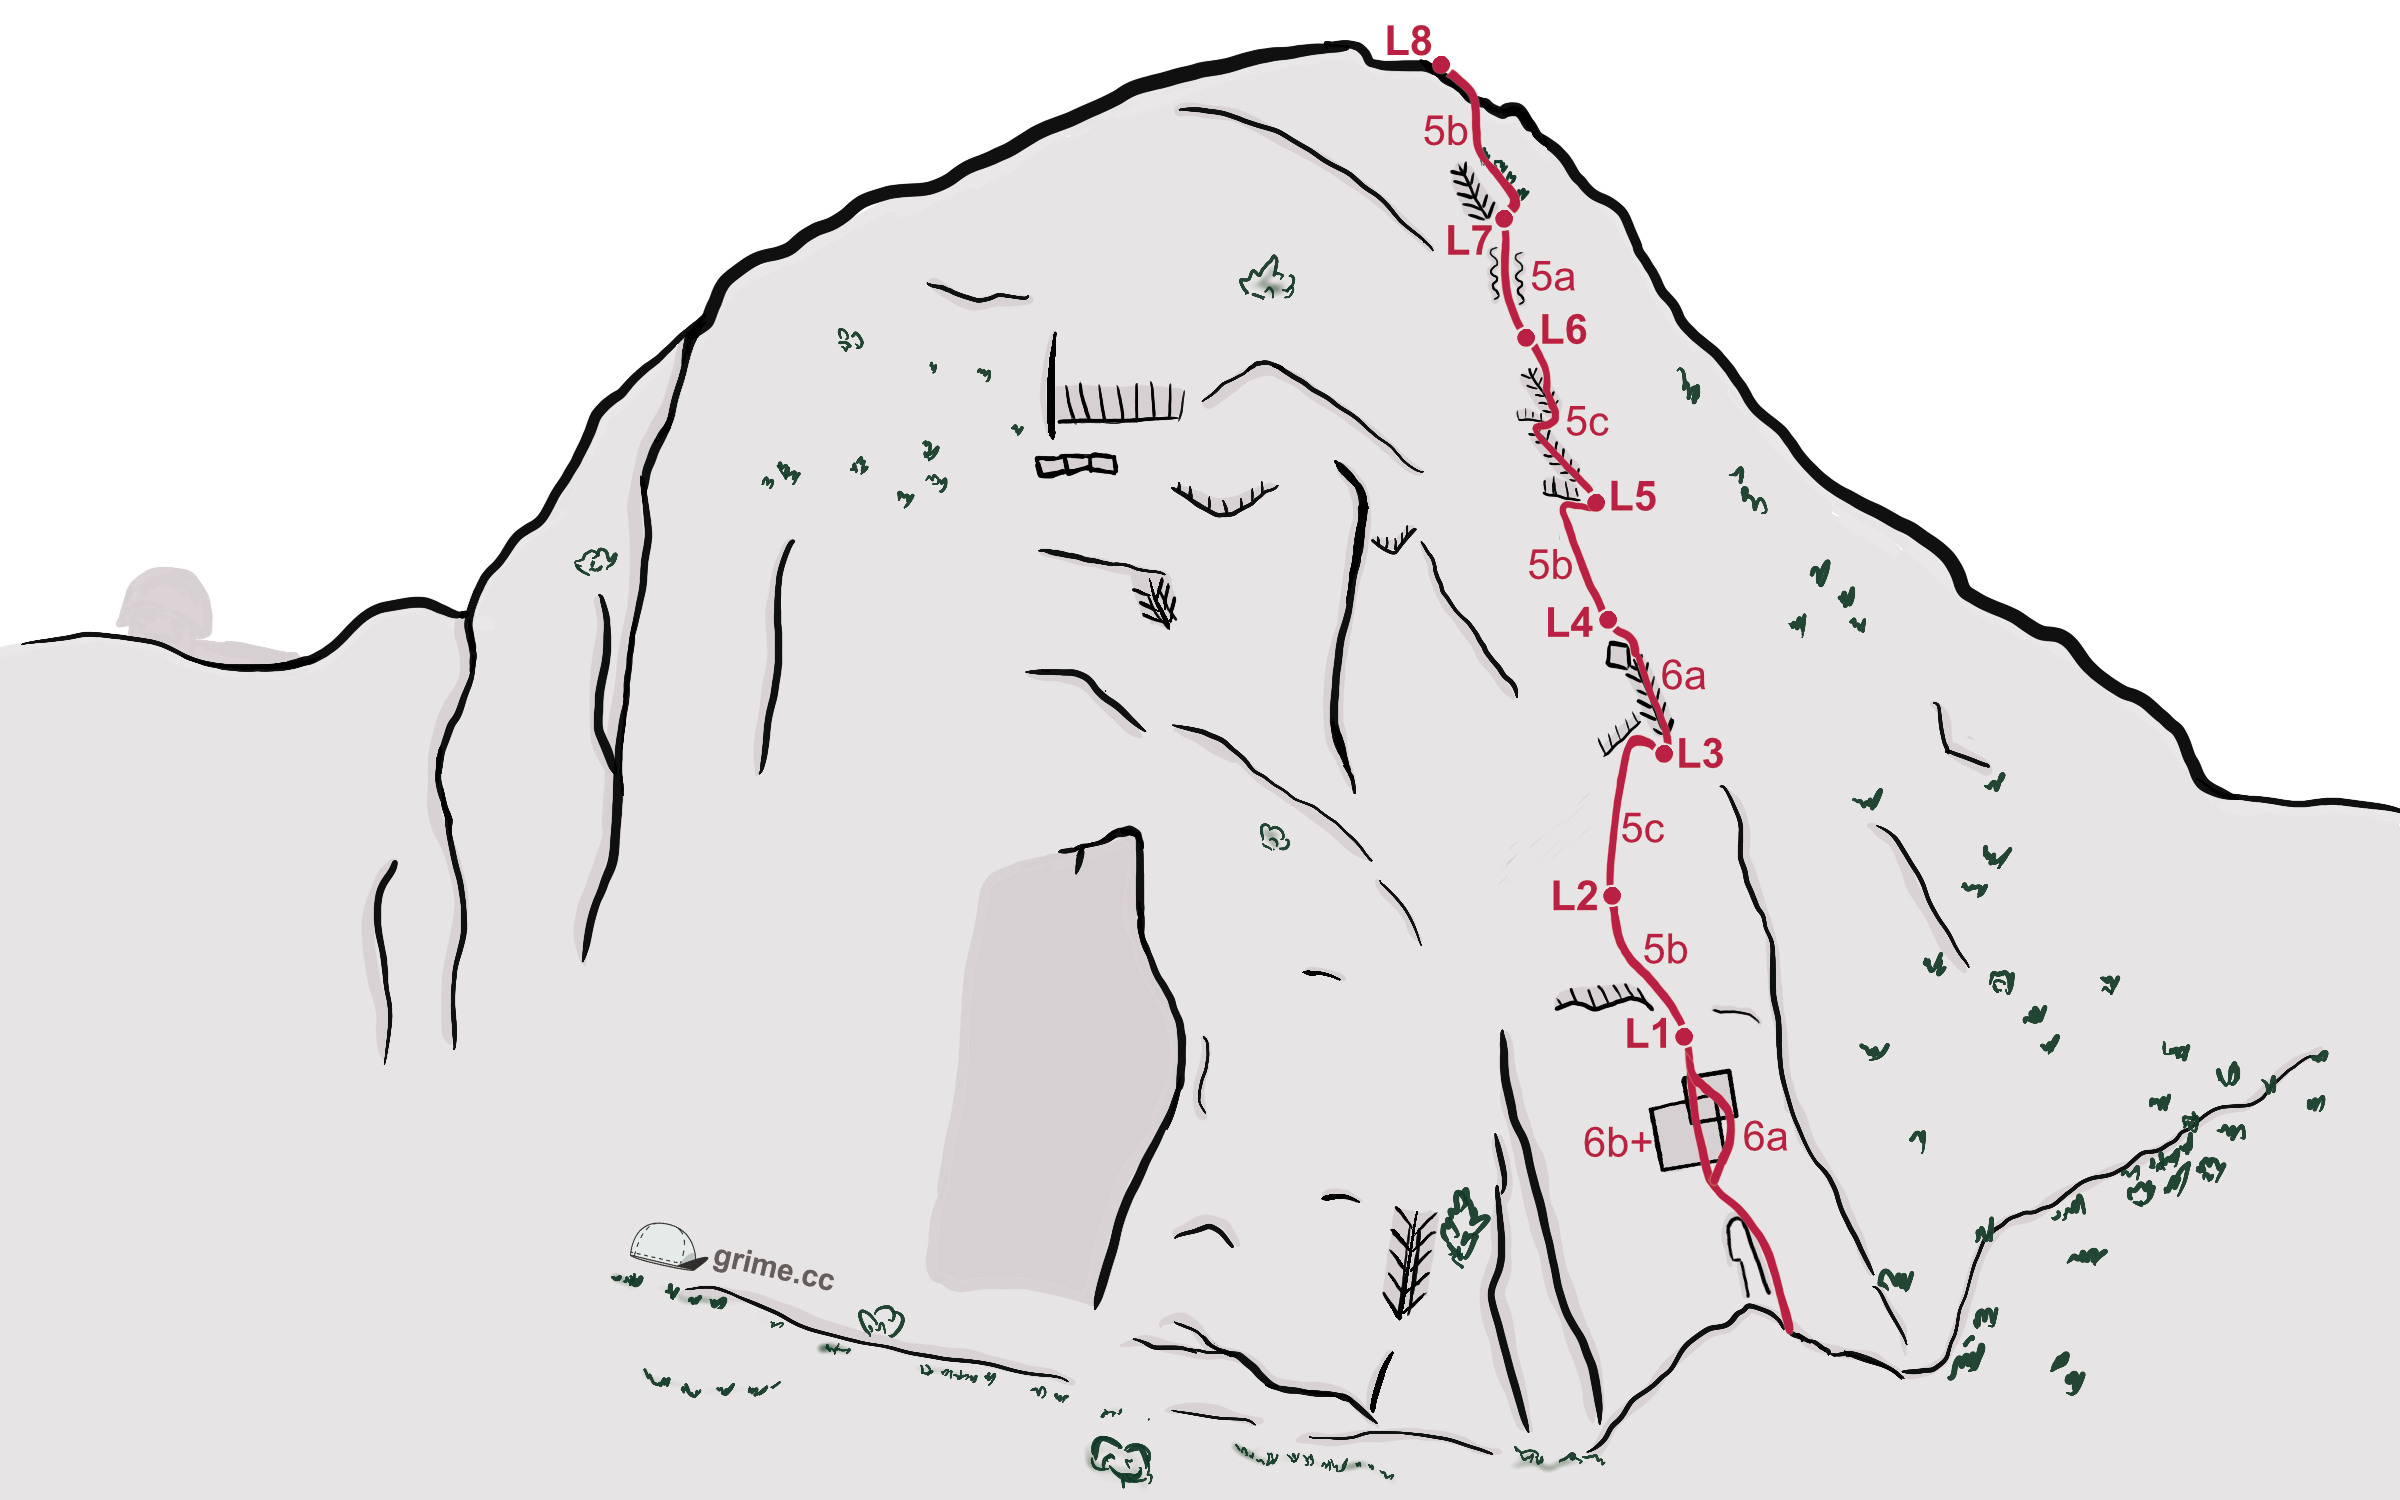
The route starts by a small pillar glued onto the big slab on the right hand side of the wall (to the right of the deep cut separating the bottom part of the face).
In general the route follows a straight line to the top of the wall with only slight deviations to catch features and to avoid the very hardest bits.
Good placements for cams all the way up.
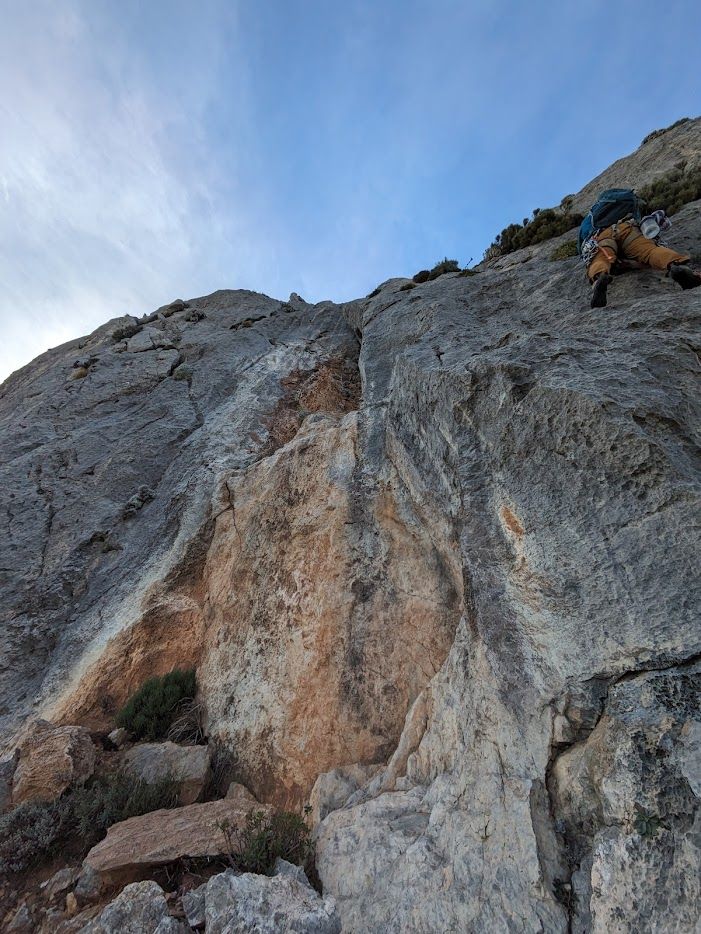
The rock is very solid all along the way except the very beginning of pitch 1 and some parts of pitches 7 and 8.
Move slightly to the left and over summit blocks to top.